|
My Photography 6. Software |
|
Photoshop I use Photoshop - a program that is widely used by digital photographers. I am currently using Photoshop CS2, but most of the features that I use (or equivalent) are included in Photoshop Elements. It costs only a fraction of the price of the full version of Photoshop. Below are a few examples of ways that I use Photoshop. |
|
1. Straightening Verticals |
|
|
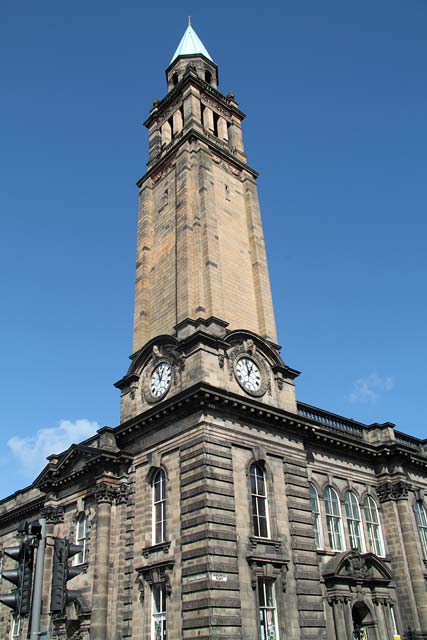
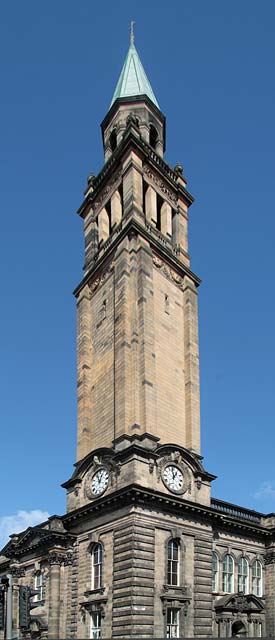
Photos taken looking up at buildings tend to have walls that 'lean in' towards the top of the building. These 'converging verticals can be corrected in Photoshop using: image>select all THEN edit>transform THEN grabbing the corners of the picture and moving them as below. as in the example below, looking up at St George's West Church from Shandwick Place, Edinburgh |
|
|
Before © For permission to reproduce, please contact peter.stubbs@edinphoto.org.uk |
After
© peter.stubbs@edinphoto.org.uk |
|
2. Removing Colour |
|
|
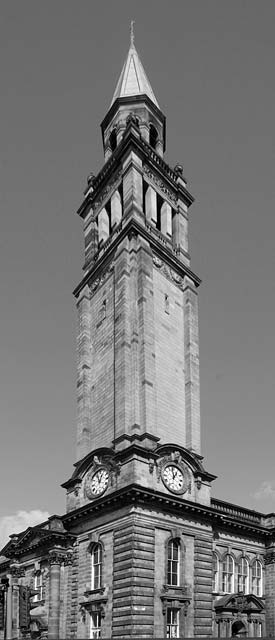
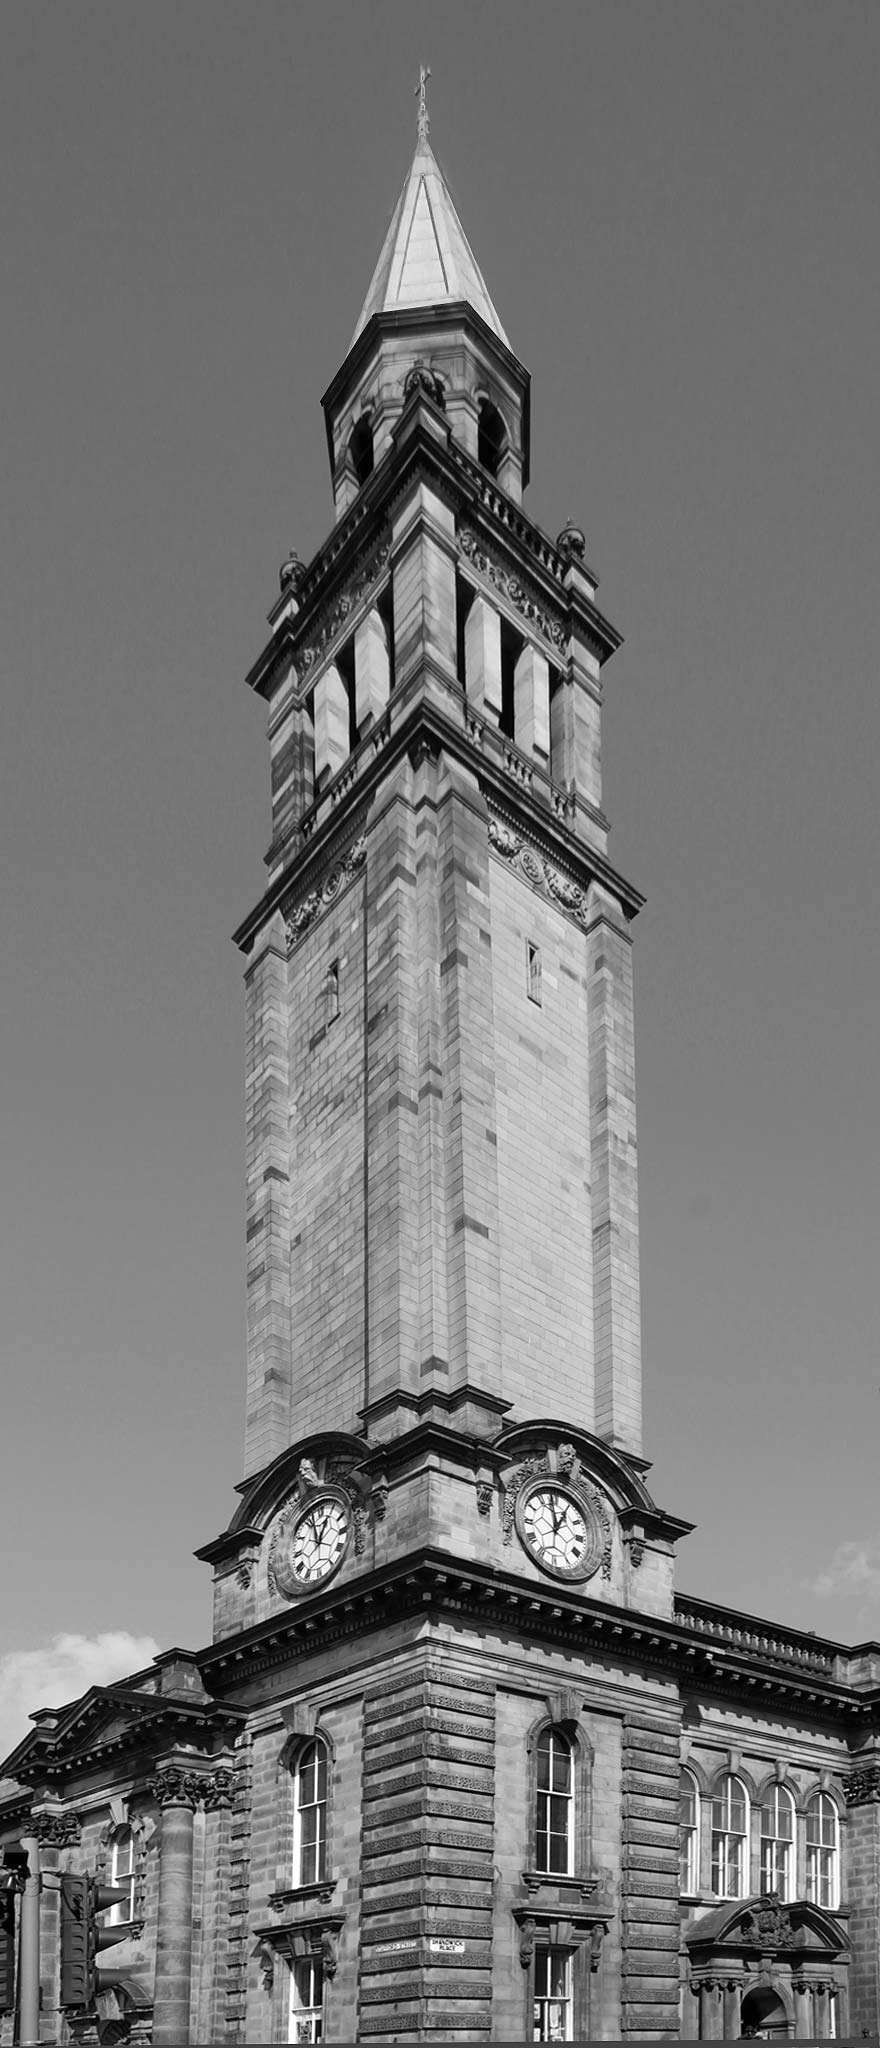
Black & White Sometimes I find that colour does not add anything to a picture, and can be a distraction, as in the photos of St George's West Church above. - The colour of the sky was impressive, but the photo was intended to draw attention to the church architecture rather than to the sky. - The comparison of of the greyish lower stonework with the yellower stonework of the tower may be an interesting architectural feature, but I felt that it did not help the picture pictorially. So for these two reasons I converted the photo to black and white (below). There are ways to take more control over a conversion to black and white, but in this case, I used the simple Photoshop method of image>adjust>desaturate as in the example below, looking up at St George's West Church from Shandwick Place, Edinburgh |
|
|
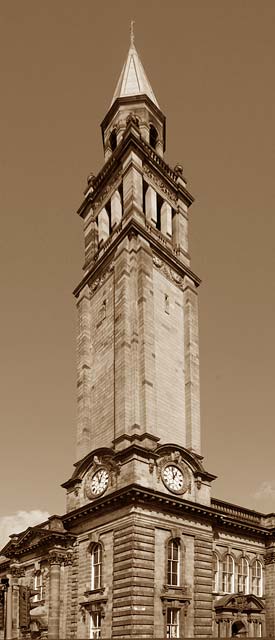
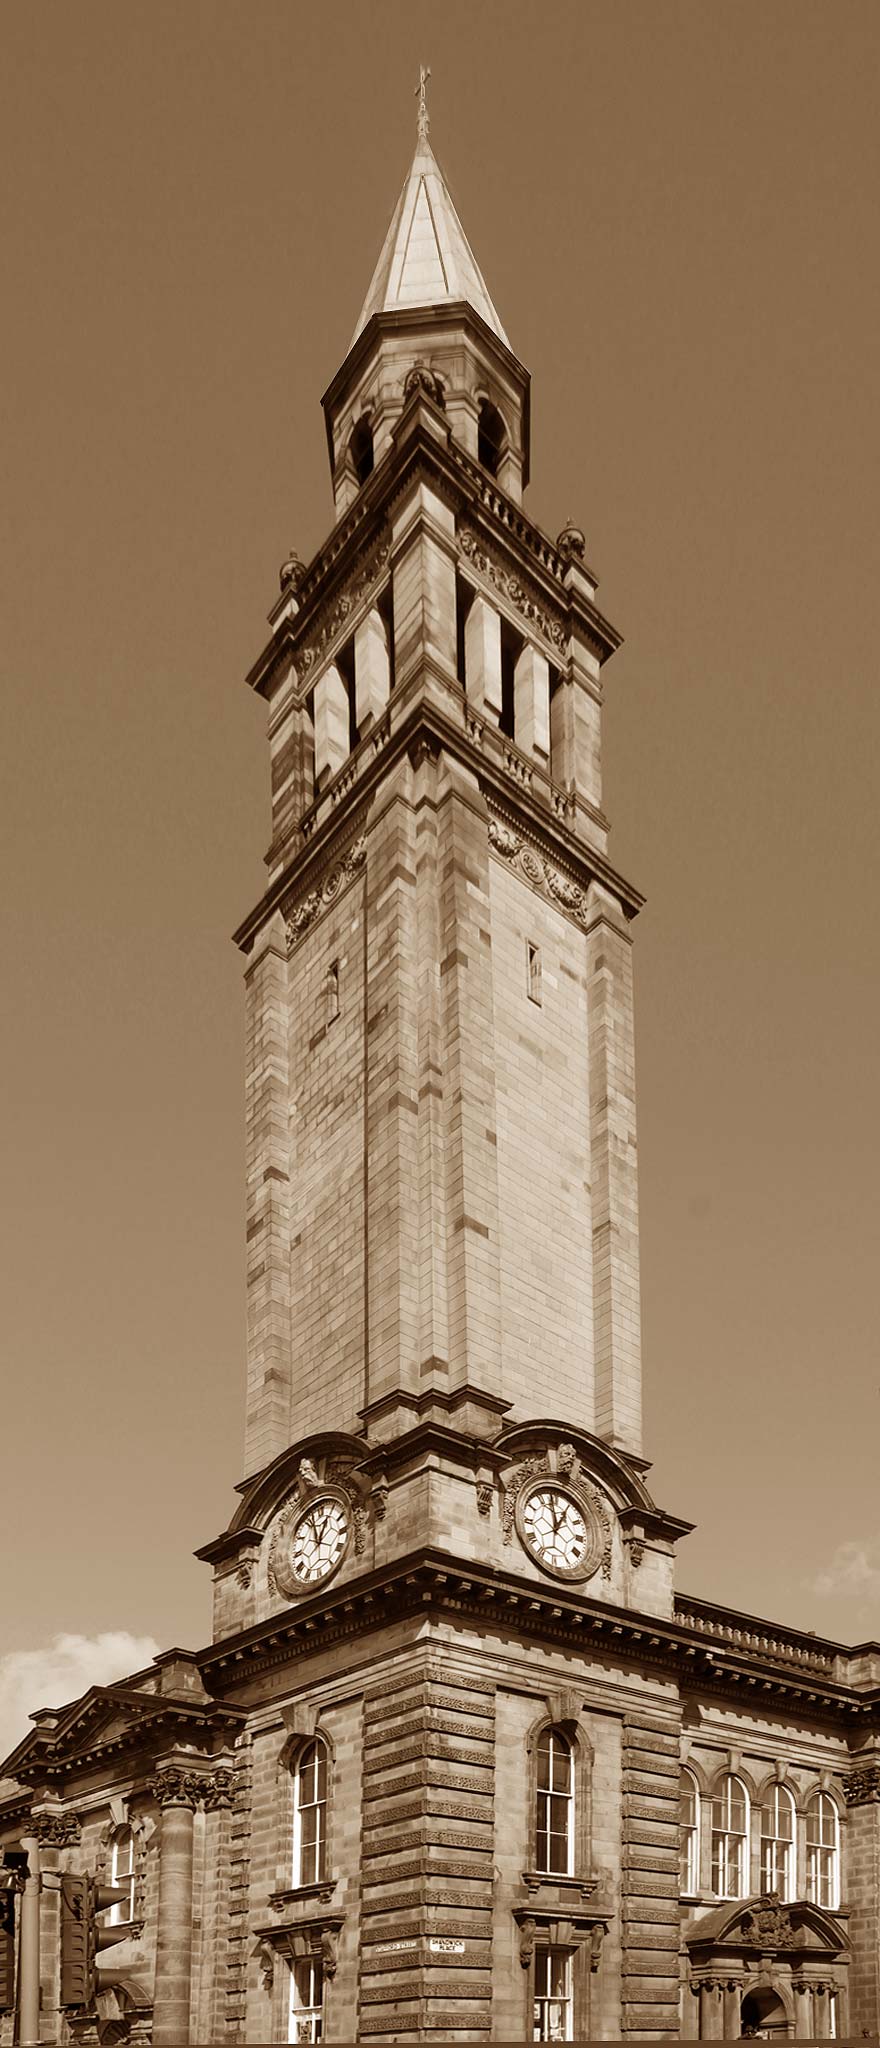
Sepia Having got the black and white image above, I converted it to sepia. There are ways, beginning with Photoshop's image>adjustment>channel mixer to take greater control over a conversion to sepia, but in practice, I find that this simple approach usually gives me the results that I am looking for:.
image>adjustments>variations
|
|
|
Black & White
© peter.stubbs@edinphoto.org.uk |
Sepia
© peter.stubbs@edinphoto.org.uk |
|
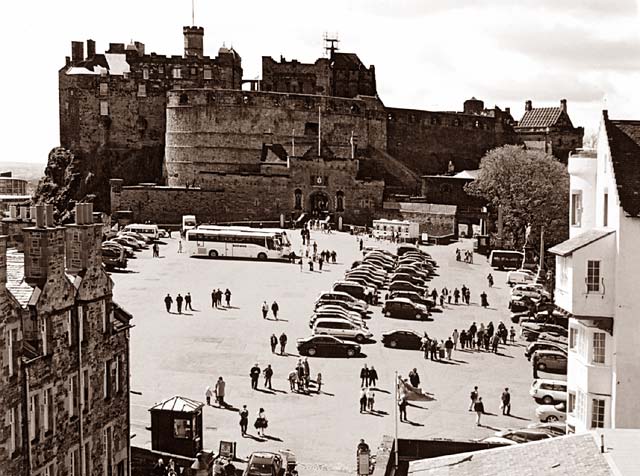
Sepia I feel that adding a sepia tint to images can help to create a 'period feel' for photos, as in the example below: Edinburgh Castle and Castle Esplanade © Copyright: Peter Stubbs - please contact peter.stubbs@edinphoto.org.uk Photograph taken 3 May 2004
|
|
|
3. Sizes of Images |
|
Prints Publishers usually request images of 300 pixels per inch in order to get a good print. eg. For a 6ins x 4ins print, they will request an image 1,800 x 1,200 pixels, though in practice, I have found that anything over about 200 pixels per inch can still produce good prints. Many modern digital cameras are capable of producing images 4,000 pixels wide or larger, so meeting a publisher's requirements should not normally cause any problems. |
|
Projected Images The size of the image will depend on the projector to be used. Currently many projectors can cope with images up to 1024 pixels wide x 768 pixels high, so this may be a good size to use - though some recent projectors can cope with larger images. |
|
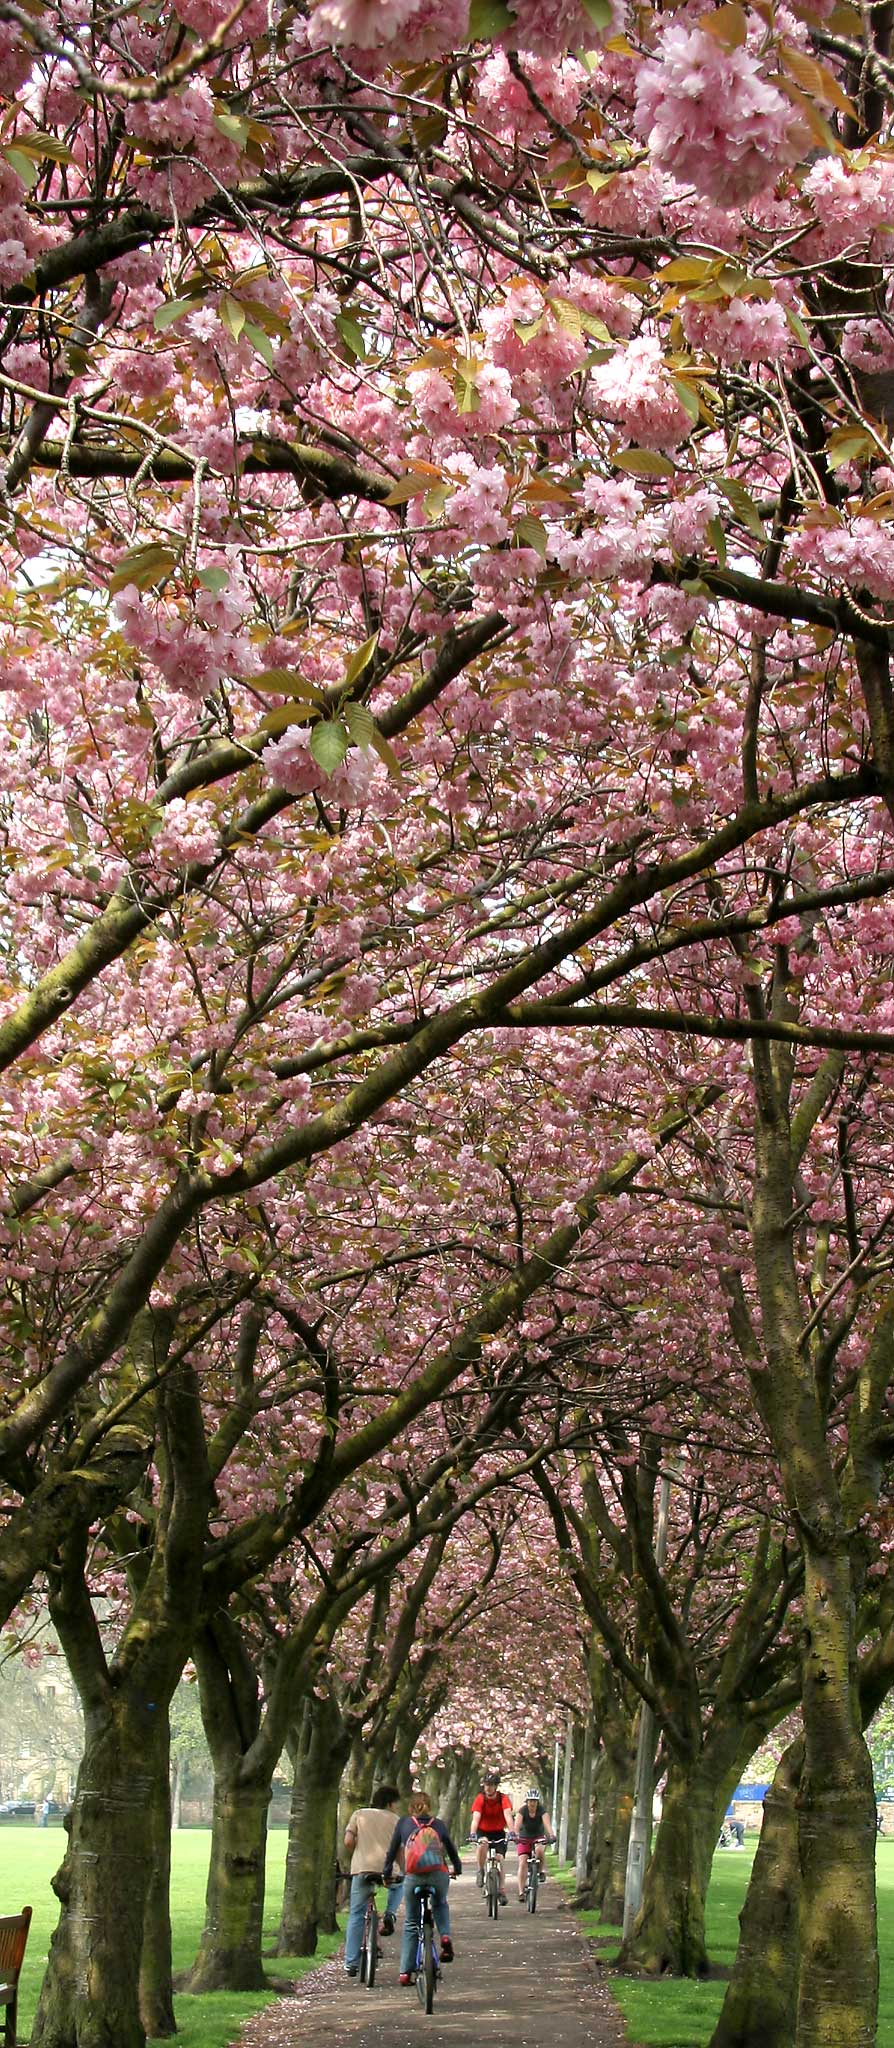
Web Sites Early Days When I built the EdinPhoto web site in 2001, I had to take account of the fact that: - many viewers would be using screens that could only cope with images up to 640 or 800 pixels wide. Beyond that, they would have to scroll across the page to see the whole image. - many would still be using dialup connections to the internet, offering maximum speeds of 56k bits per second, or in practice perhaps about half of that speed - and larger images take longer to transmit. So I kept most of the images fairly small and used fairly low quality for some of the JPG images in order to keep response times reasonable. Today Over the years, screen resolutions have increased, and speeds for linking to the internet have increased so I am now adding more larger pictures to the web site. Often, I'll give a choice of 640 pixels and larger (usually 1024, but sometimes 1536 or 2048) for the larger size where I think the results might be interesting for larger images. Scrolling Horizontally I try to avoid the user having to scroll across a page except for a few cases when I believe that scrolling may be worth the effort - e.g. for: - panoramic photos or - large maps. Scrolling Vertically A viewer will often be scrolling down a page to read the content, so a picture that requires scrolling down should not cause any particular problem. So I am happy to include images that are higher than a screen is likely to be. The whole image may not be visible at the same time, but displaying the larger size can help to emphasize the height of the subject, reveal more detail and may give a more impressive result than a smaller image. e.g. Compare the next two images of St George's West church with the two smaller images of it above. St George's West © peter.stubbs@edinphoto.org.uk Photo taken April 11, 2011 St George's West © peter.stubbs@edinphoto.org.uk Photo taken April 11, 2011 The Scott Monument Where is this photo? The Meadows
|
|
4. Colours |
|
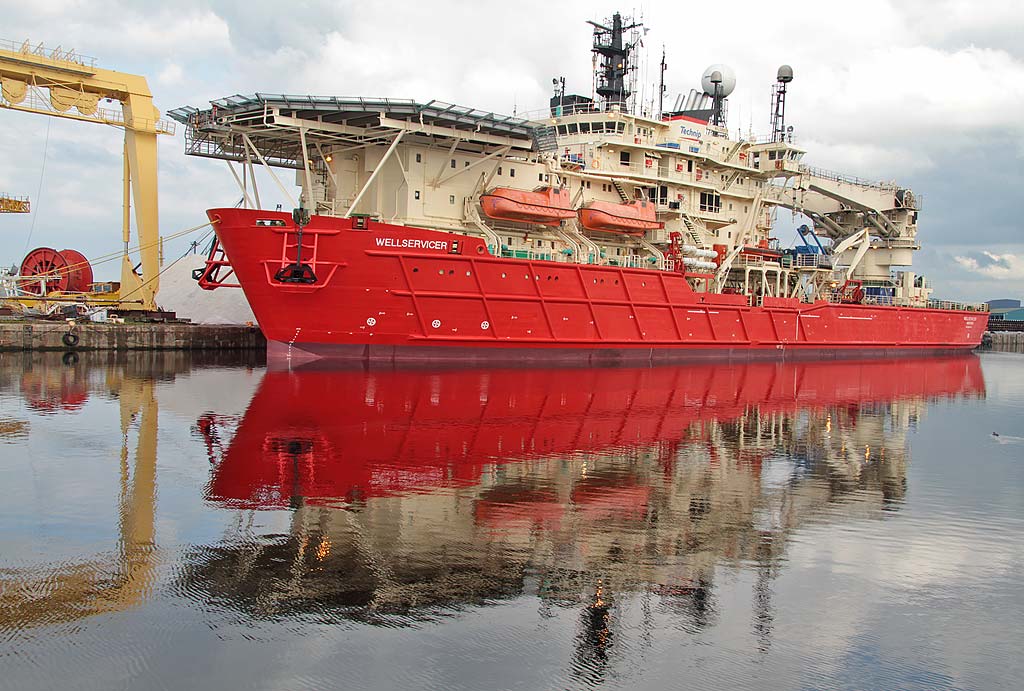
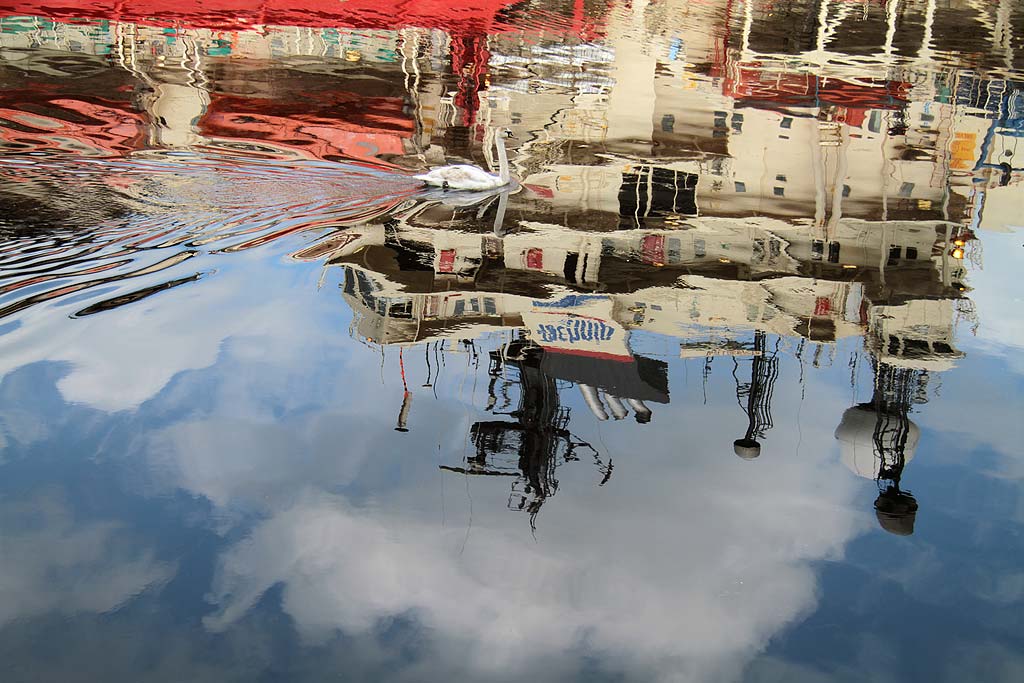
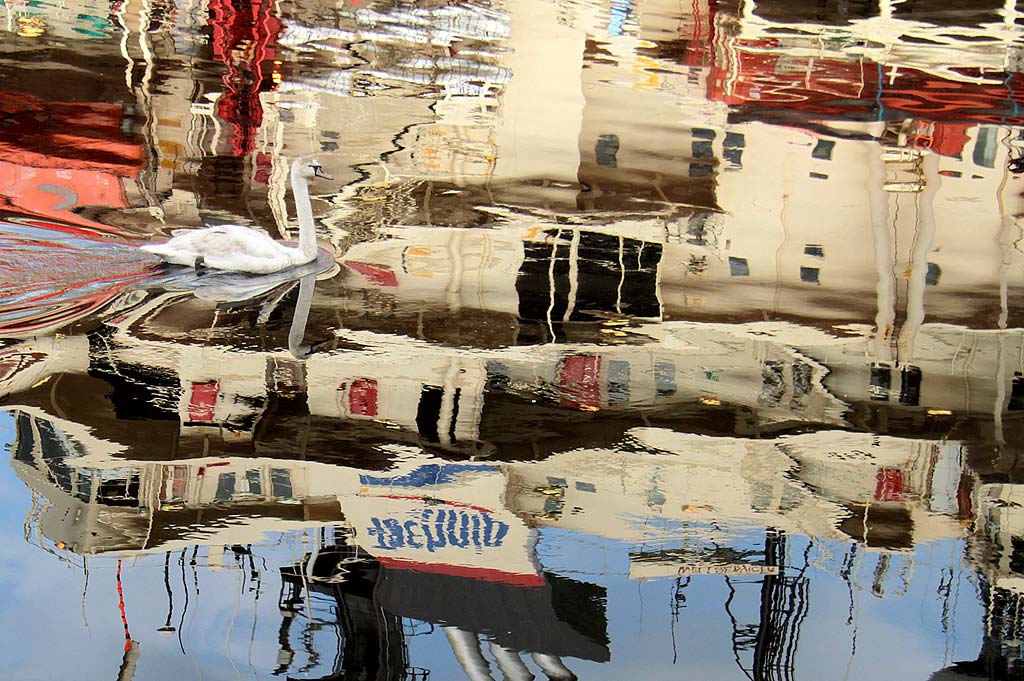
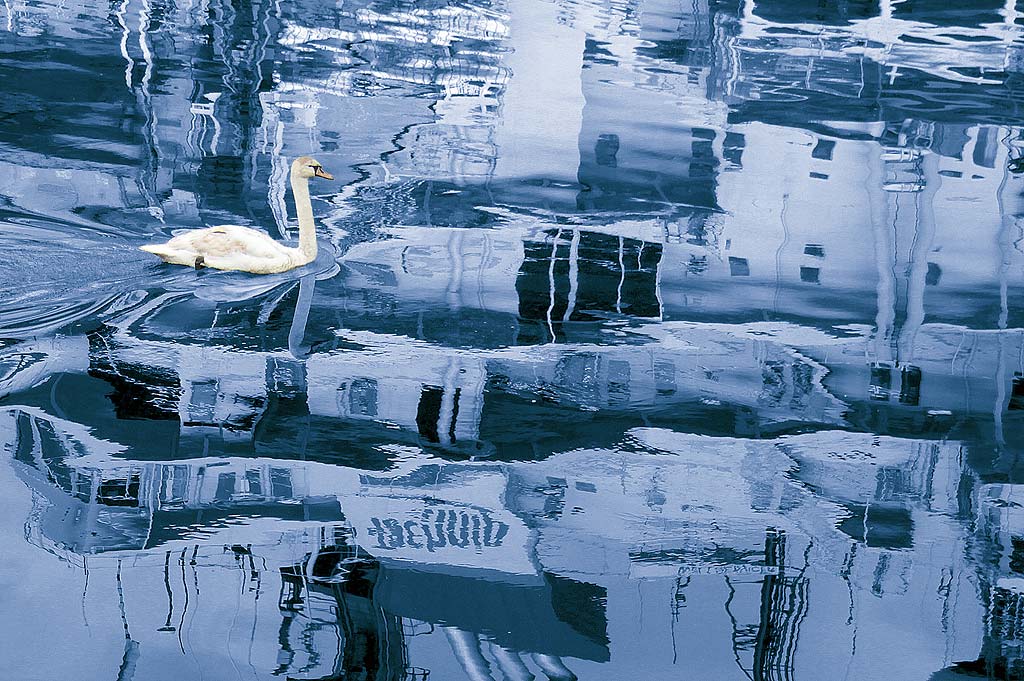
Creative Effects Photoshop can be used to make colours in photos look more natural OR ELSE to create artificial colours. Artificial photos will not appeal to everybody, but here is an example using reflections in Leith Dock. Please keep scrolling down until you reach the 4th photo below. |
Ship at Prince of Wales Dock, Leith
© Peter Stubbs peter.stubbs@edinphoto.org.uk Photograph taken from outside Ocean Terminal April 15, 2011
Reflection of the Ship
© Peter Stubbs peter.stubbs@edinphoto.org.uk Photograph taken from outside Ocean Terminal April 15, 2011
Zoom-in on the Reflection
© Peter Stubbs peter.stubbs@edinphoto.org.uk Photograph taken from outside Ocean Terminal April 15, 2011
Desaturate background, then add back colour
© Peter Stubbs peter.stubbs@edinphoto.org.uk Photograph taken from outside Ocean Terminal April 15, 2011
